Initial Workspace Setup
Workspace Setup
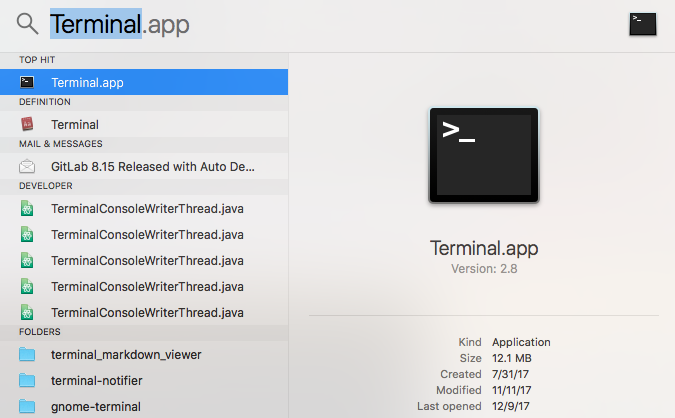
First, open up terminal by pressing CMD+Space (opens Spotlight) and typing in Terminal

Next, copy and paste
curl https://raw.githubusercontent.com/Team-2502/TeamWiki/master/workspace_setup.sh | shand press ENTER. The result should look like below: 
Wait for script to finish. Then, close terminal. You now have JetBrains Toolbox, Git Kraken, and Java 8 JDK installed.
Installing IntelliJ
Now, you will need to install IntelliJ, a powerful IDE (Integrated Development Environment) which basically means a program to write code with. IntelliJ is mainly used for Java, the main language used for the robot.
1) First, open JetBrains Toolbox (CMD+Space and type Jetbrains Toolbox)
2) Next, accept the license agreement
3) You will now need to create an account. Do so under your student email.
4) Make sure to activate student license
5) Sign in for JetBrains Toolbox
6) Click install under IntelliJ IDEA Ultimate
Git & GitHub
To be able to modify the project, you will need to use a Git and GitHub. These are Version Control Systems (VCS) which allows for an effective way to go back-and-forth between versions of a project. This also allows us to collaborate with ease. To start, signup for GitHub, the site that this wiki is on.
Opening IntelliJ
Now open IntelliJ, and select the default settings. Then, click Check out from Version Control on the right-hand side of the window. Select GitHub and then select Use Password. After you login, set Git Repository Url to https://github.com/Team-2502/RobotCode2018. Leave the other settings default, and click Clone. Once you open the project, you will most likely get several errors. Click on what it suggests you to do. One of these errors will most likely be that you need Java 1.8. Once you click on the suggested action, you will need to enter the directory ~/Library/Java/jdk180144/Contents/Home/. Once all of the warnings and errors are gone, you should be ready to go.